
Monday Morning Art School: framing your work
In response to past 7 days’s write-up, individuals questioned me to write about framing your function. Even if you hardly ever approach to do it, you’ll recognize why good framing is high-priced.
Until you are a qualified woodworker, don’t develop your have frames. You need to have a miter observed, corner clamps, and a joiner of some type. You’re not likely to recoup the expense of your investment decision if you don’t previously have all those matters, and you’ll waste time and materials studying. You can, nonetheless, buy precut kits from some moulding suppliers. That’s a excellent option if you don’t like the assortment offered in premade frames. (I do make my possess frames at periods, but I’d fairly be painting.)
Measuring
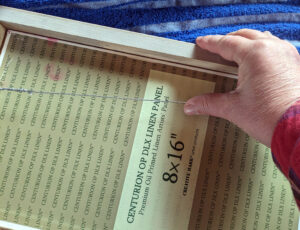
Premade canvases and archival portray boards occur in normal sizes. These conveniently match up with premade frames. Years back, I knew an artist who labored only in 1 measurement. Not only did it make framing a snap, she could tear down and pack a demonstrate in minutes. I can’t bring myself to do that, but I rarely deviate from what I can body off-the-shelf.
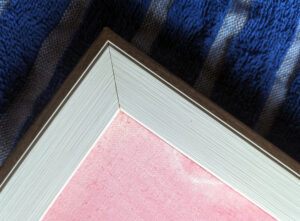
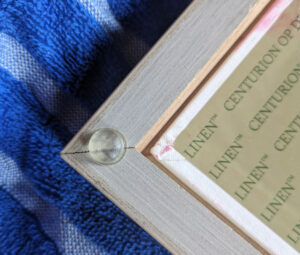
In addition to the nominal top and width of a body, there’s the rabbit depth. That’s the depth of the recess at the back again of the body into which the board or canvas slides. Most plein air frames have a shallow rabbit, which usually means if you’ve painted on canvas, you could want offset clips to set up the portray. A canvas framed like this will adhere out from the wall.
Picking out a body
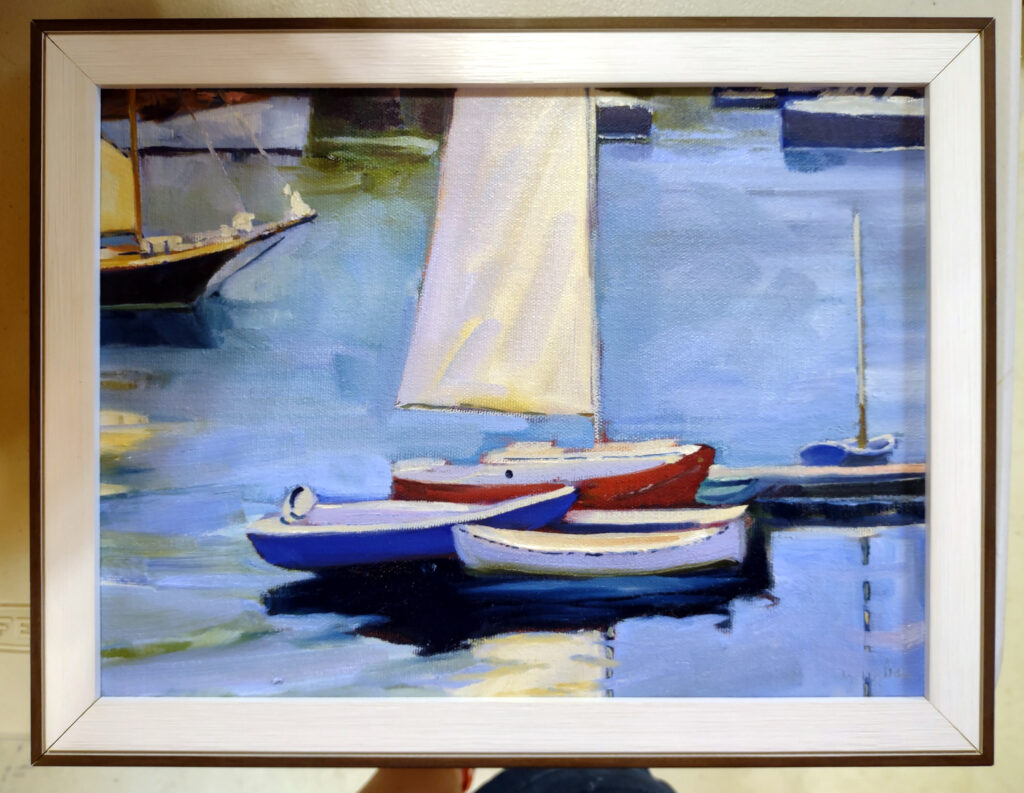
Body styles appear in and out of fashion, and there are regional differences in what prospective buyers want. I can’t tell you what will work for your painting, but it can make sense to go to local galleries to broaden your wondering on the subject matter.
What do you will need?
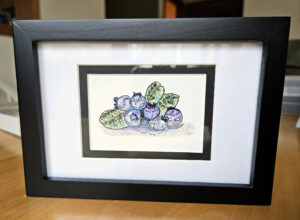
Acrylic or glass glazing is desired for watercolors, pencil, and pastel work. Watercolor and pastels are usually framed with acid-free of charge paper mats (even though I prefer mine totally free-hanging). All operates on paper need an acid-no cost backing board, to which the get the job done is frivolously adhered with acid-no cost tape.
Pastels will need acid-totally free spacers, which are slender strips of mat board to continue to keep the pastel from touching the glazing. (I make my have from scraps of matboard.) If you’re setting up on delivery framed operate, the glazing need to be acrylic. In its museum-excellent sort, it’s additional costly than everyday glass. There’s also non-reflective glass if you aren’t preparing on transport the get the job done. For pastels, there’s 1 much more expense: a static brush and/or anti-static acrylic cleaner.
In addition, you’ll have to have the subsequent instruments:
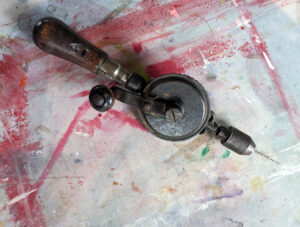
- A hand drill to start off pilot holes. Working with a electricity drill just about assures you’ll put your pilot gap right by way of the front of your frame, as you don’t have the good manage
- 3/32” drill little bit for hardwood frames
- Wire nips
- A place driver (in no way carry this in your carry-on baggage)
And the following consumables:
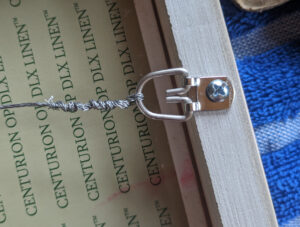
- D-rings
- #6 x 1/2″ wood screws,
- Photograph wire (the coated wire is top-quality, but I haven’t operate out of the outdated stuff however)
- Offset clips if your painting is further than the rabbit
- Corner bumpers.
Framing your work
Following cleaning the frame and glazing (with ammonia-totally free glass cleaner), put the body upside down on a gentle towel to prevent scratches. If you are employing glazing, spot it in the body next, thoroughly averting new fingerprints. If applying a mat, that goes in following, to be adopted by spacers if essential. Upcoming arrives artwork. If there’s any flexibility in this ‘sandwich’, you may have to have to double the backing board.
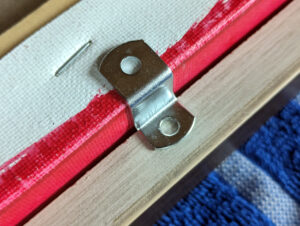
Future, generate factors in. It’s not required to go overboard. I set a person in about a 1-2″ from every single corner and area them about 6″ apart. I tuck a small business card in the bottom ideal corner. In advance of there ended up position motorists, men and women put paintings in frames applying very small brads. It’s a pain in the neck, so if you program to frame perform frequently, a driver is an excellent financial commitment.
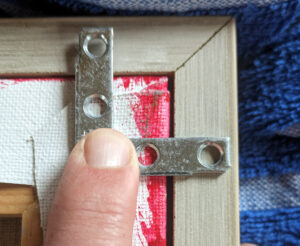
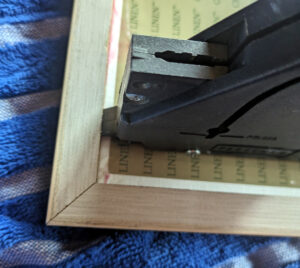
Offset clips are installed with the exact same #6 x 1/2″ wooden screws that you will use for D-rings. These can be driven directly into the back again of the canvas stretcher if essential. I in some cases use mending plates if the rabbit is the very same depth as the canvas.
The D-rings need to be mounted one-third from the major of the body. (In other words and phrases, if the frame is 15″ tall, the D-rings must be 5″ from the top.) If the body is hardwood, you’ll want to drill pilot holes for the screws. It’s easy to slip and drill correct by means of the entrance of the body, which is why I use a hand drill. If you’ll only ever use the drill bit for this objective, you can put a masking tape cuff on the bit as a guidebook.
There are distinctive pounds D-rings for different dimension frames, sorted by body weight. Do not use sawtooth hangers for professional artwork.
Your wire need to be a free S-curve the width of the portray. Make guaranteed the wire is not far too free or the painting will dangle away from the wall. Wind the wire ends tightly and trim with your wire nips.
Connect bumpers to the two base corners. This will avert the sliding that causes paintings to go cattywampus just about every time you brush by.
My 2024 workshops:
- Painting in Paradise: Rockport, ME, July 8-12, 2024.
- Sea & Sky at Schoodic, August 4-9, 2024.
- Locate your reliable voice in plein air: Berkshires, August 12-16, 2024.
- Artwork and Journey at Sea: Paint Aboard Schooner American Eagle, September 15-19, 2024.
- Immersive In-Man or woman Workshop: Rockport, ME, October 7-11, 2024.
The write-up Monday Morning Artwork University: framing your operate appeared very first on Carol L. Douglas.